This project demonstrates how to power an LED with a MOSFET in a straightforward manner. The Arduino can drive LEDs without the use of a MOSFET, but a MOSFET or transistor is necessary when the load on a single pin exceeds 40mA or the combined load on all pins exceeds 200mA. Because the current necessary to drive a 5V mechanical relay is roughly 100mA, which is more than a single pin can deliver, you'll also need a MOSFET.
You must need a logic level MOSFET with microcontroller output voltages; these are typically denoted by an L in the part number, such as IRLZ44N or IRL540.
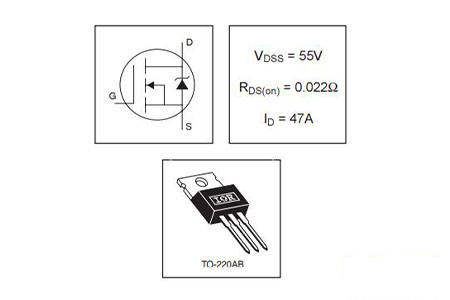
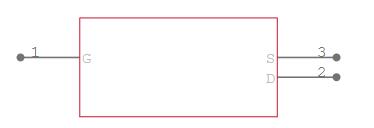
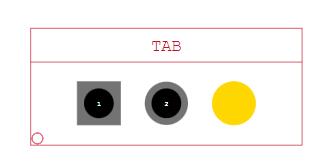
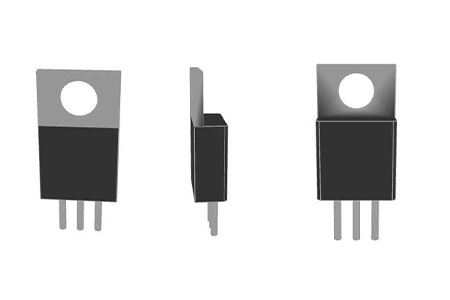
Logic level MOSFETs, such as the IRLZ44N, can be utilized in Arduino projects to switch high currents at voltages greater than 5V. When installed with a sufficient heatsink and de-rated for its projected operational temperature, the International Rectifier device can switch 47A at up to 55V. Consult the associated datasheet for specifics on your device, as not all IRLZ44Ns have the same current limit specs. The gate, drain, and source pins for the TO-220 package are depicted in the diagram above, from left to right.
A 10k pull-down resistor must be placed across the gate and source connections, else the MOSFET will be turned on by even minor electrostatic voltages on the gate - simply touching the bare wire on the gate is enough.
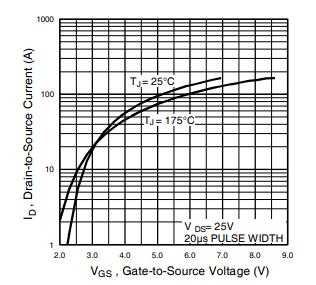
For the IRLZ44N to conduct, the Gate Threshold Voltage, designated as VGS(th) in the electrical characteristics, must be exceeded – this is 2V for the IRLZ44N. The MOSFET, on the other hand, is barely turned on at 2V and can only carry a very modest current, perhaps 1A. Consult the data sheet's charts to see what current you can switch with what gate voltage.
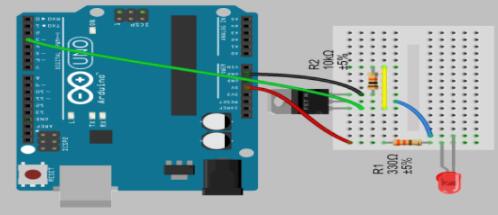
How to Use a Mosfet to Drive an Led Circuit